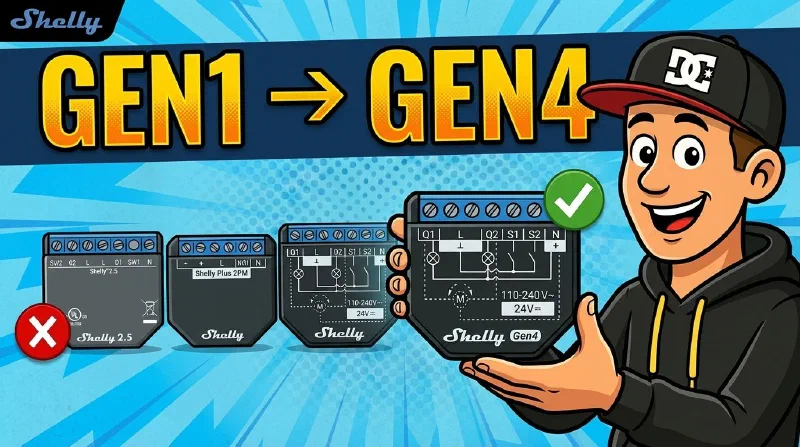
Advertising: Shelly provided the Shelly 2PM Gen4 devices free of charge. No fee, no editorial requirements, no approval before publication – my assessment remains my own. Links marked (paid link) are affiliate links.
More than 50,000 people have watched the video in which I repair a dead Shelly 2.5 for 30 cents: Repairing dead Shellys – the 30-cent fix. I’ve done this repair at home easily more than ten times. And now the last 2.5s are going anyway – replaced by the Shelly 2PM Gen4.
In this article: why repairing no longer pays off for me, what really changed across four Shelly generations – from the chip to the screws – and how the swap went, including a mishap that can happen to you too.
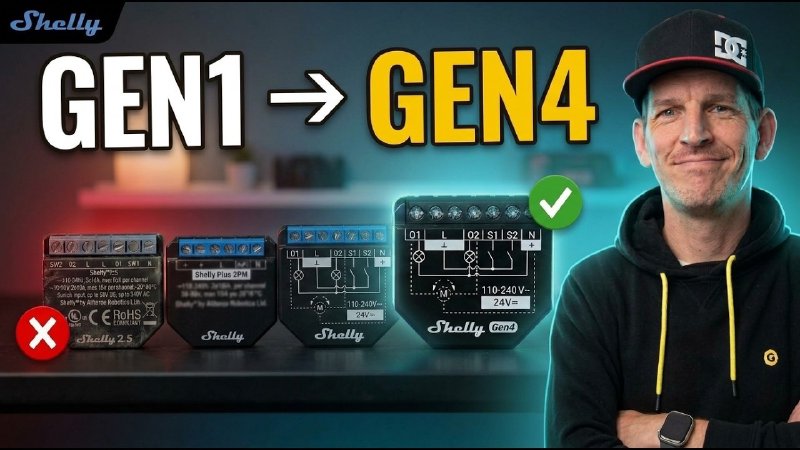
Why repairing no longer pays off for me
What I couldn’t know when I made the repair video: every 2.5 I repaired failed again after a while. I didn’t track it precisely, roughly two to three years. And that’s despite fitting a high-quality Panasonic capacitor. The community now recommends replacing all three capacitors in the device right away. Whether that’s enough, I can’t say.
Then there’s the effort. One round means: breaker off, switch cover off, module out, case open, solder, reassemble, reinstall and set up again. Including removal and installation, that’s about 45 minutes per device for me.
But the real point is a different one: the 2.5 is technically outdated – it’s now more than seven years old. So my advice: if your 2.5 fails today, that’s the moment to think about switching. After two years, the repair was certainly the right call back then. At the second or third failure of the same device, the math looks different.
If repairing is still an option for you: everything I’ve learned since the video is in the update to the repair article.
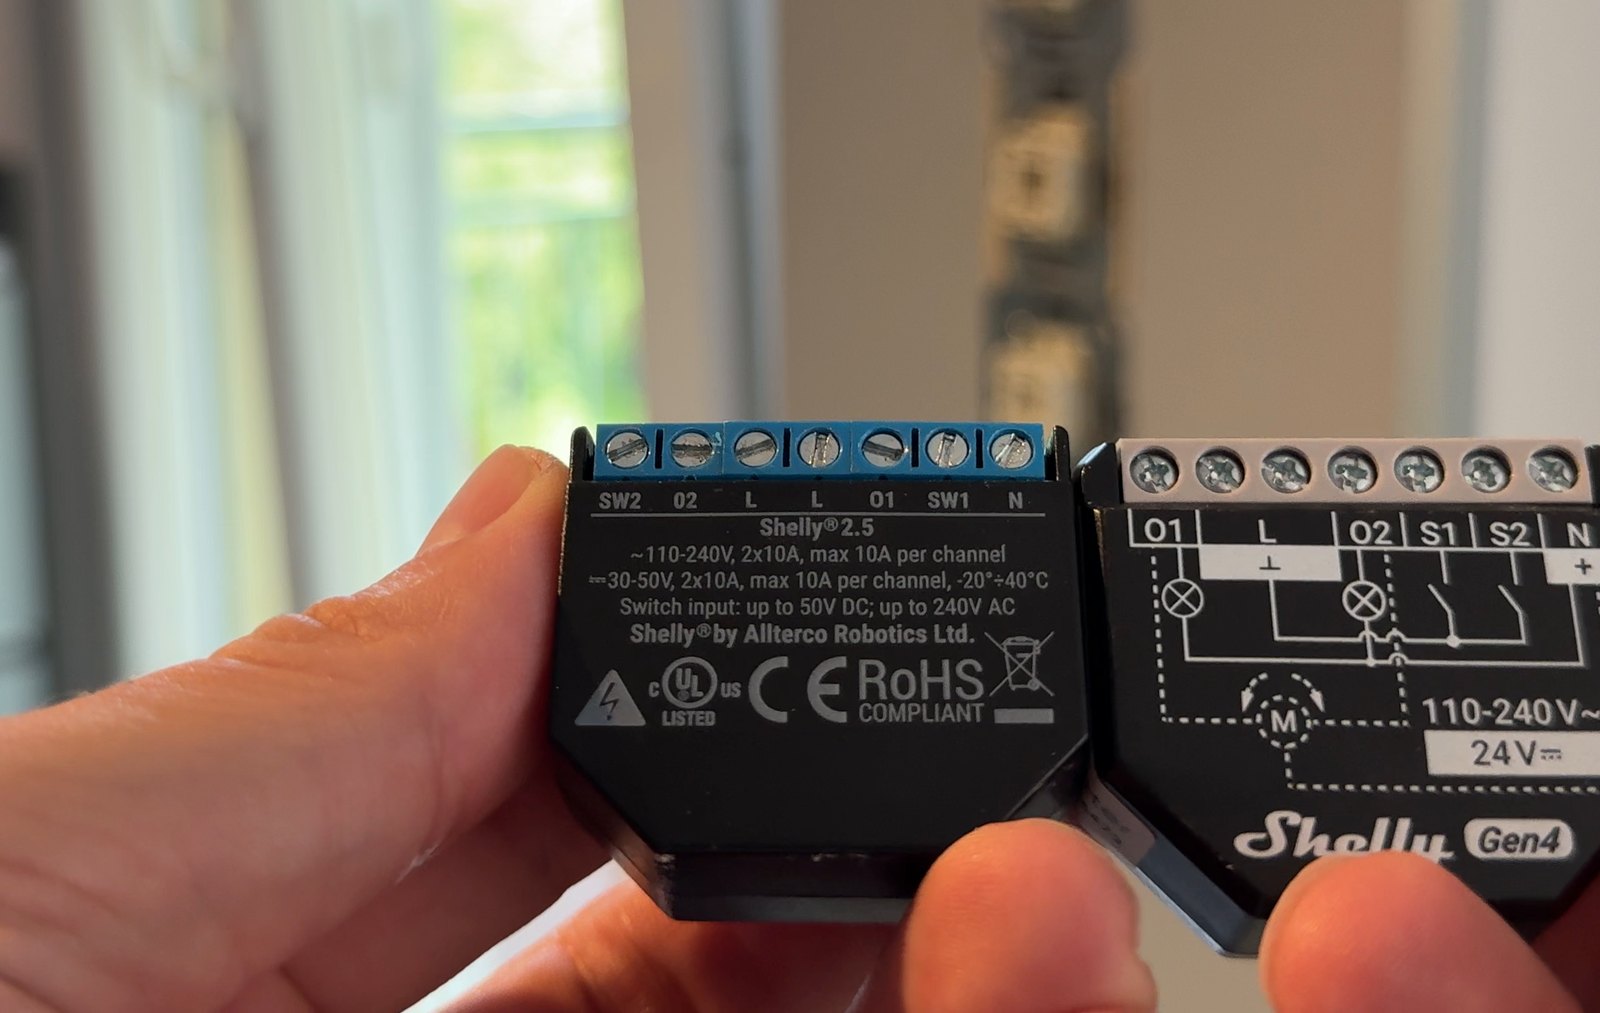 Old and new: the Shelly 2.5 on the left, the 2PM Gen4 on the right.
Four generations at a glance
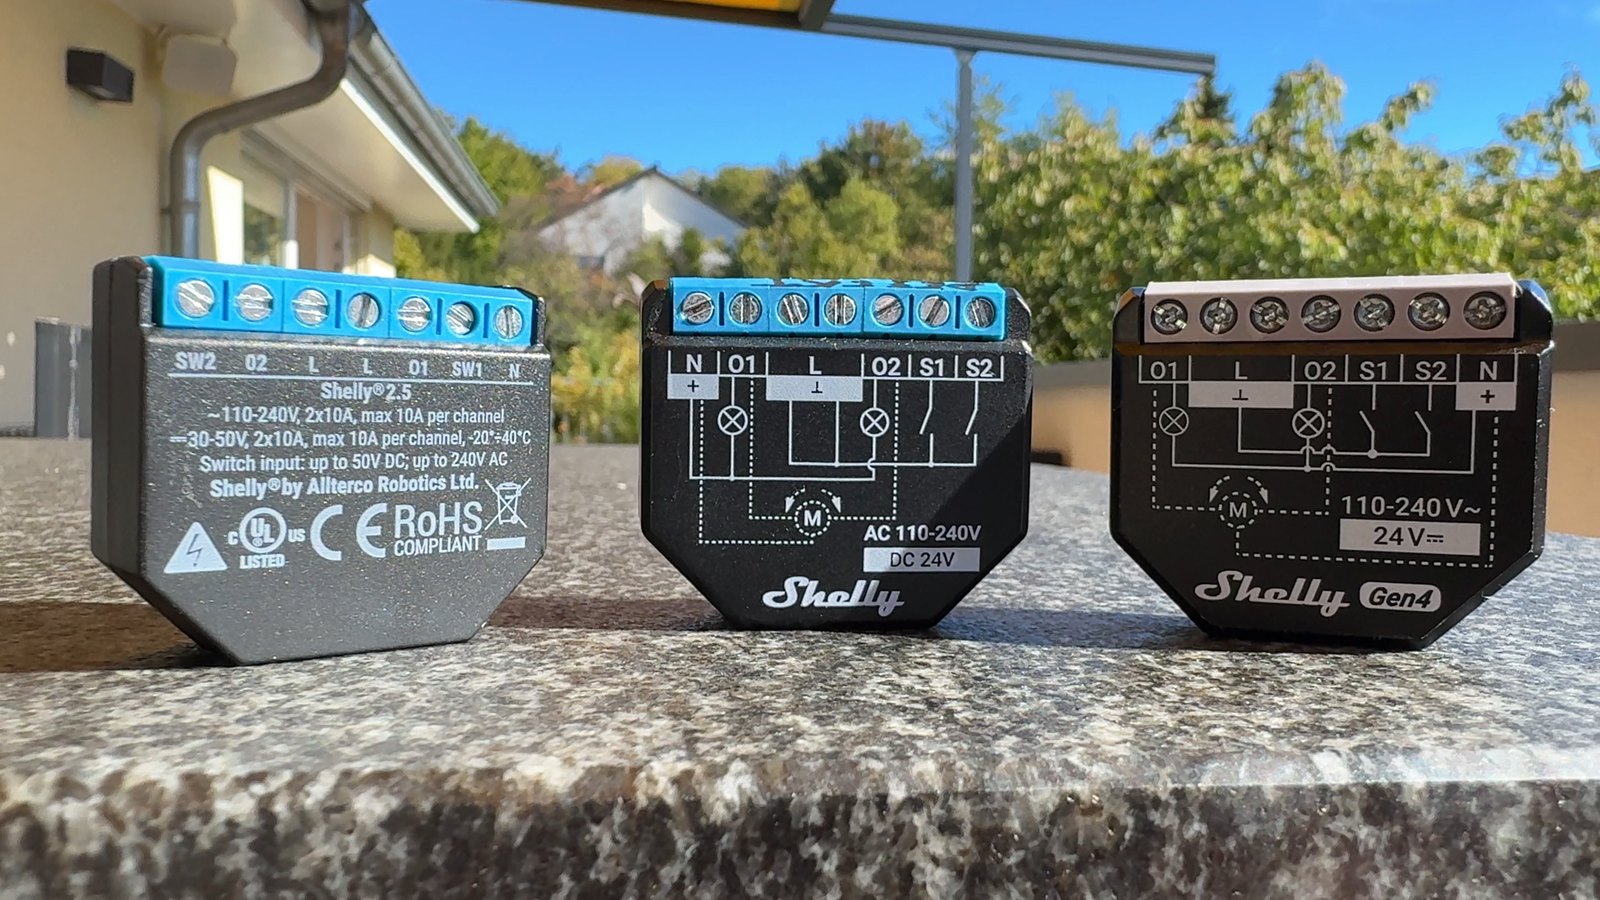 From left: Shelly 2.5 (Gen1), Plus 2PM (Gen2) and 2PM Gen4. I skipped the third generation.
| 2.5 (Gen1) | Plus 2PM (Gen2) | 2PM Gen3 | 2PM Gen4 | |
|---|---|---|---|---|
| Chip | ESP8266 | ESP32 | ESP-Shelly-C38F | ESP-Shelly-C68F |
| Flash | 2 MB | 4 MB | 8 MB | 8 MB |
| Wi-Fi | 2.4 GHz | 2.4 GHz | 2.4 GHz | Wi-Fi 6, 2.4 GHz |
| Bluetooth | – | 4.2 | 4.2 | 5.0 |
| Matter | – | – | on some models | built in |
| Zigbee | – | – | – | built in (switchable) |
| Wires up to | 1.5 mm² | 1.5 mm² | 4 mm² | 4 mm² |
| Printed wiring diagram | no | yes | yes | yes |
| Size (H × W × D) | 36 × 39 × 17 mm | 37 × 42 × 16 mm | 37 × 42 × 16 mm | 37 × 42 × 16 mm |
Sources: datasheets in the Shelly Knowledge Base, my own devices.
Gen1: the brilliant idea
The first generation arrived in 2018 with the Shelly 1 and, shortly after, the 2.5. The idea was brilliant: a small relay behind the switch, straight on Wi-Fi, with its own web interface – no hub or bridge at all. Under the hood an ESP8266 with just 2 MB of storage, outside slotted screws and terminals for wires up to 1.5 mm². A solid start, with plenty of room for improvement.
Gen2 (Plus): Bluetooth, scripts, slats
The Plus devices – for me the Plus 2PM – brought an ESP32 and with it Bluetooth. Setup via the app gets easier, and the Shelly can receive Bluetooth sensors and pass them on, for example to Home Assistant. Scripts run directly on the device, and cloud connection and local MQTT suddenly work at the same time.
Particularly important for me: percentage-accurate slat control for venetian blinds. How to set it up and use it in automations: Tilt Venetian Blind Slats to the Percent with Shelly and Home Assistant.
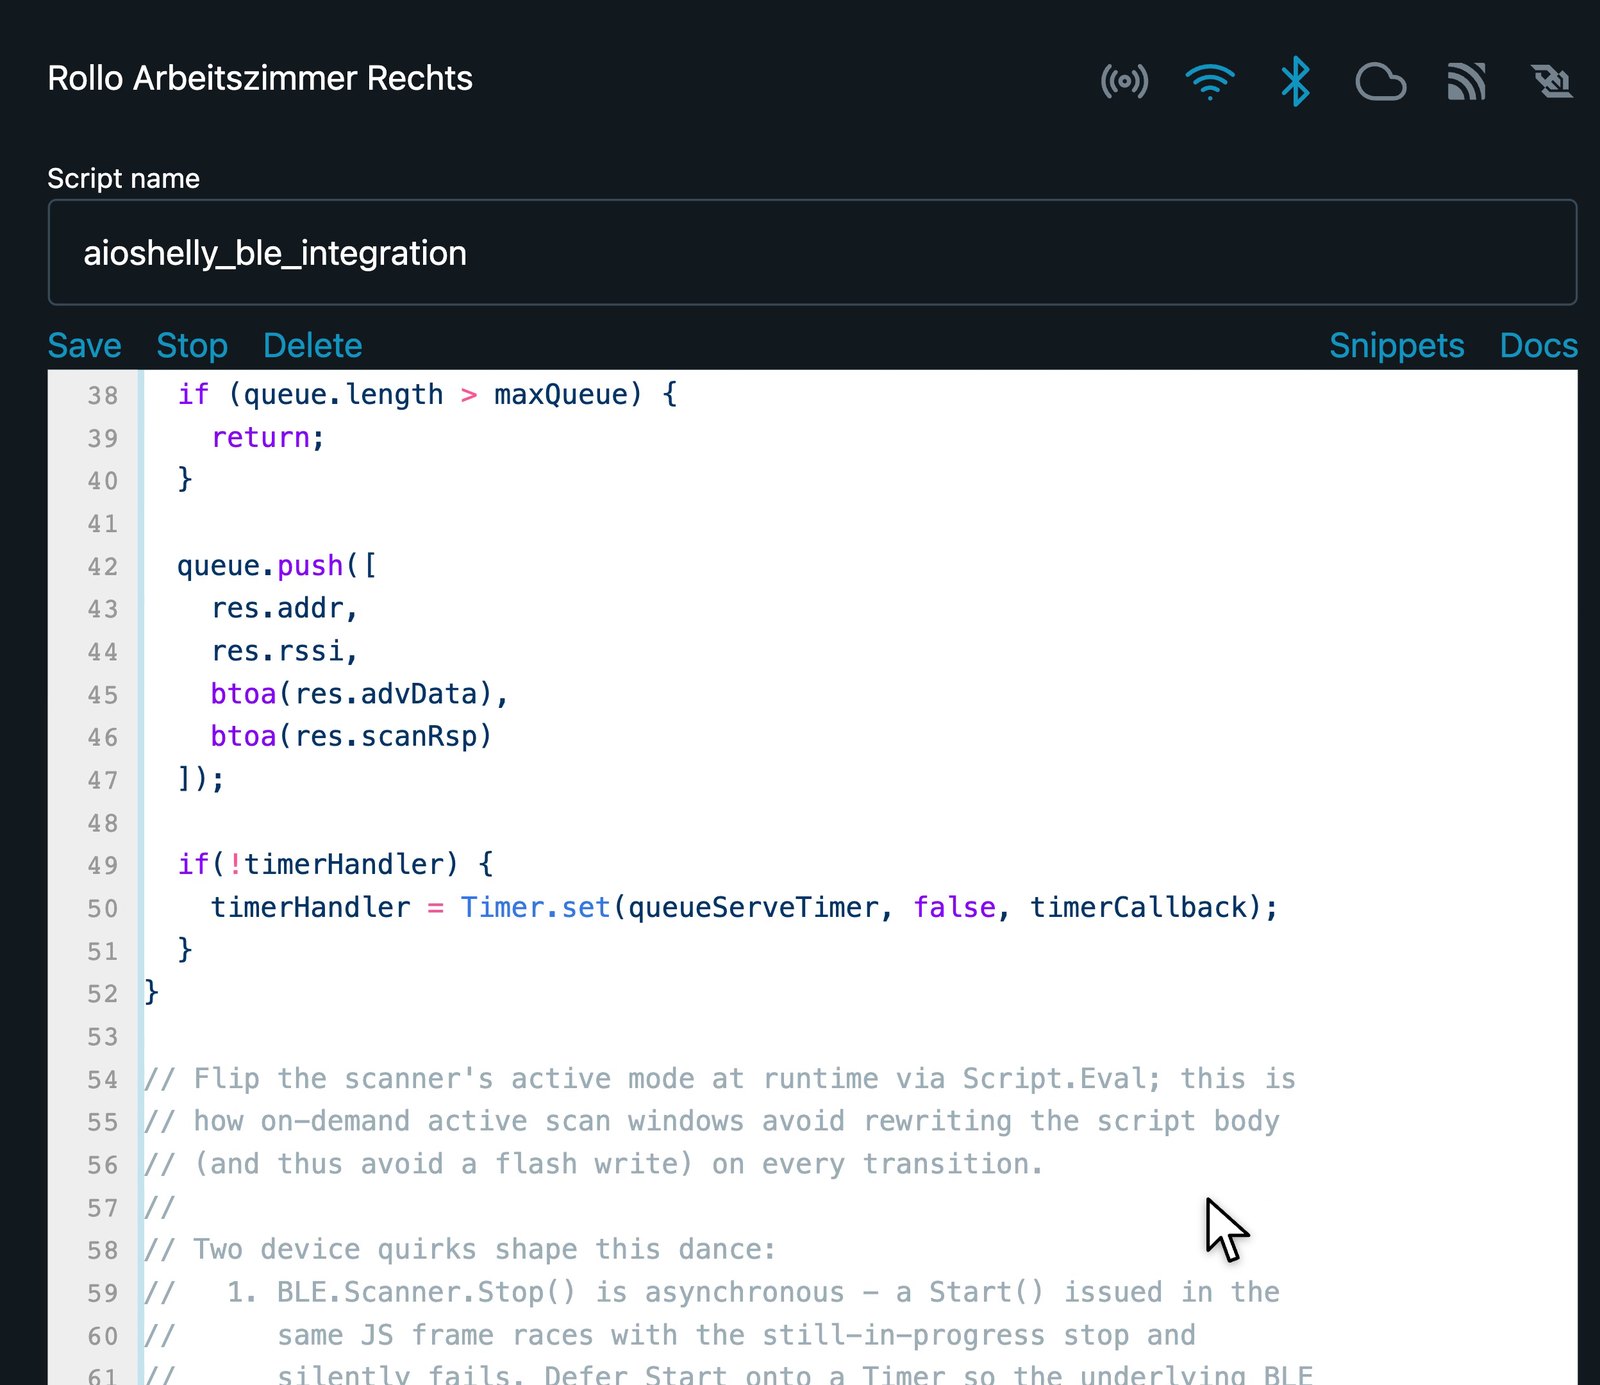 Scripts directly on the Shelly – here the Bluetooth script that Home Assistant installs itself.
On the outside, the case is one millimetre flatter (a little wider and taller in return), and there’s finally a small printed wiring diagram. Just right when you’re kneeling in front of the wall and the manual is, of course, in the kitchen.
Gen3: skipped
I skipped the third generation. Same case, a new chip with twice the storage, a KNX connection via a gateway, and Matter on some models. Most importantly, the terminals now take wires up to 4 mm² – thick wires and ferrules finally go in without fiddling.
Gen4: Matter and Zigbee built in
The 2PM Gen4 keeps the same case, but a lot changes inside: Wi-Fi 6, still on 2.4 GHz (so no new Wi-Fi needed), Bluetooth 5.0, twice the RAM of the Gen3 according to the datasheet, and Matter and Zigbee built in. The Gen4 ships in Matter mode; pressing the button five times switches it to the Zigbee profile.
And on the outside there are finally combination screws for slotted and Phillips. Don’t laugh – but I love it: tightening with a Phillips screwdriver without constantly slipping out of the slot.
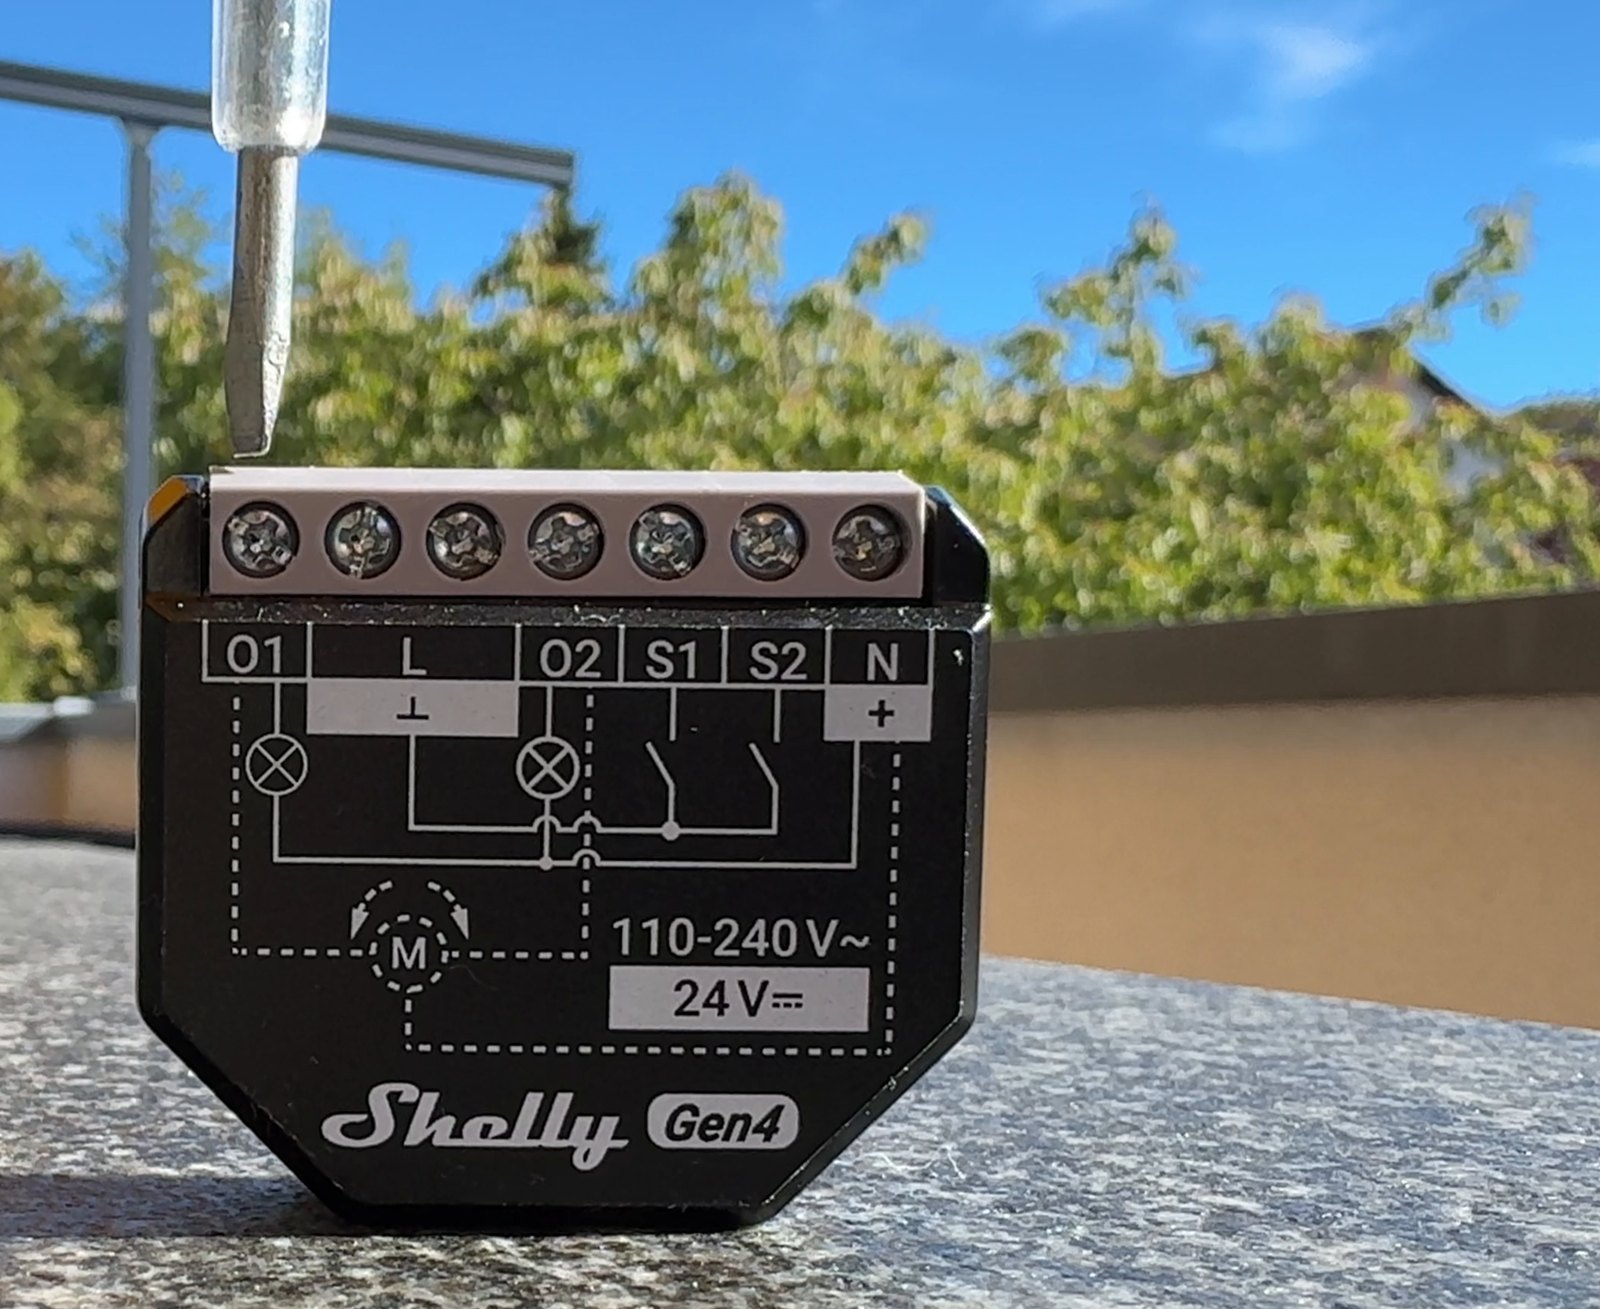 Combination screw on the Gen4: fits slotted and Phillips screwdrivers.
The terminals: different in every generation
My personal highlight: with every generation, the terminal order changes again.
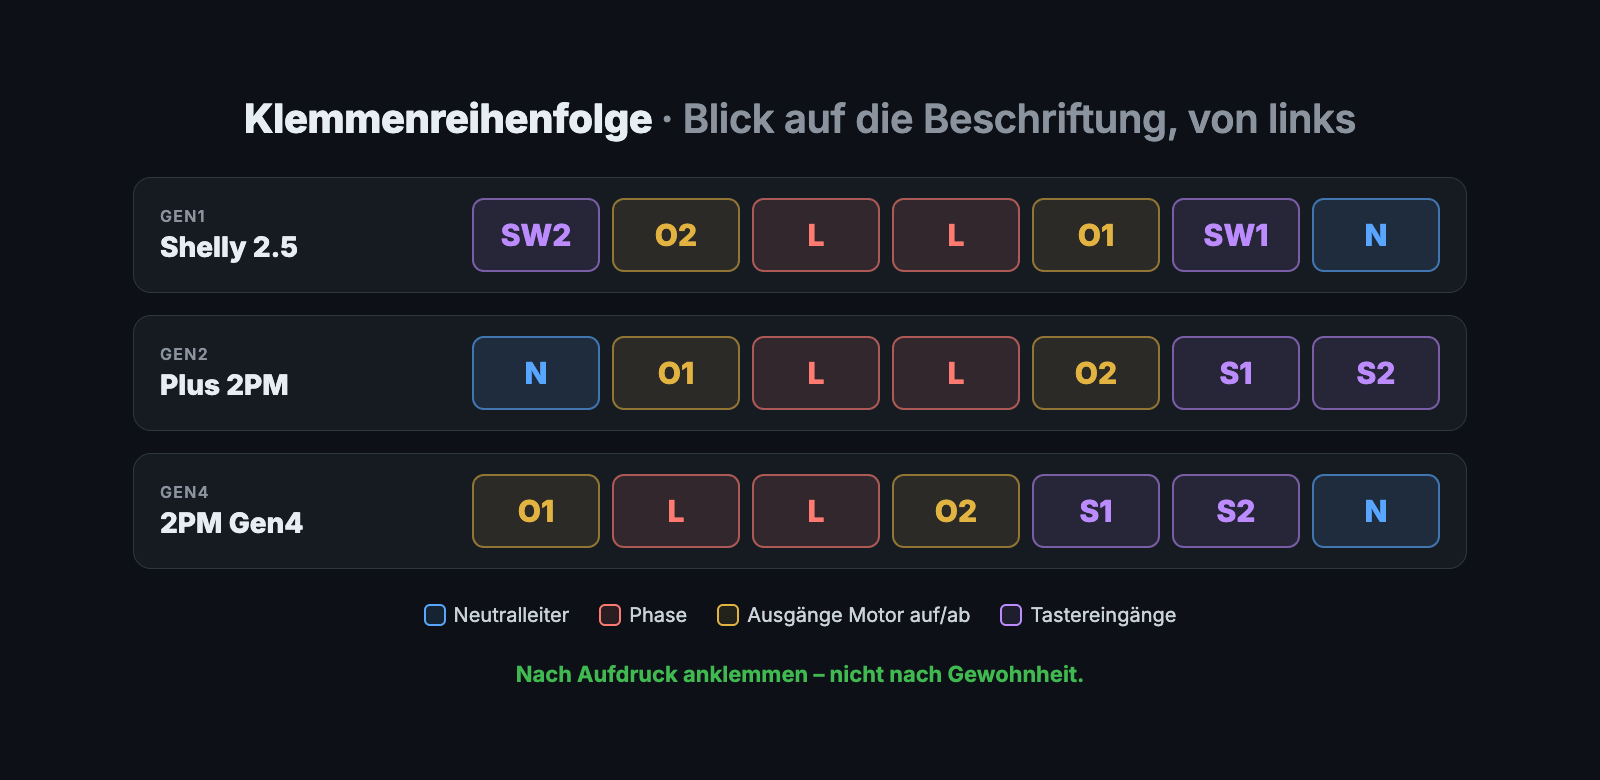 German labels: Neutralleiter = neutral, Phase = live, Ausgänge = motor outputs, Tastereingänge = switch inputs.
- The neutral sits on the far right on the 2.5, on the far left on the Plus 2PM, and on the far right again on the Gen4.
- The switch inputs were split across both sides on the 2.5 (SW2 left, SW1 right). Since the second generation they sit next to each other and are called S1 and S2.
- The two L terminals are next to each other on all three devices.
So please: wire by the label, not by habit – especially when you replace a 2.5 one to one.
The swap
⚠️ 230 V: breaker off, verify the circuit is dead – and if you’re unsure, get advice from a qualified electrician. I’ve collected the typical pitfalls in Shelly installation: 5 mistakes almost everyone makes.
The mishap: a broken wire
On the very first swap, something happened that can happen to you too: the wire was already worn from all the removing and reinstalling, and it broke off. The small piece of bare wire was, of course, stuck in the front of the terminal. In the end I only got it out with a lot of fiddling and very pointy tweezers.
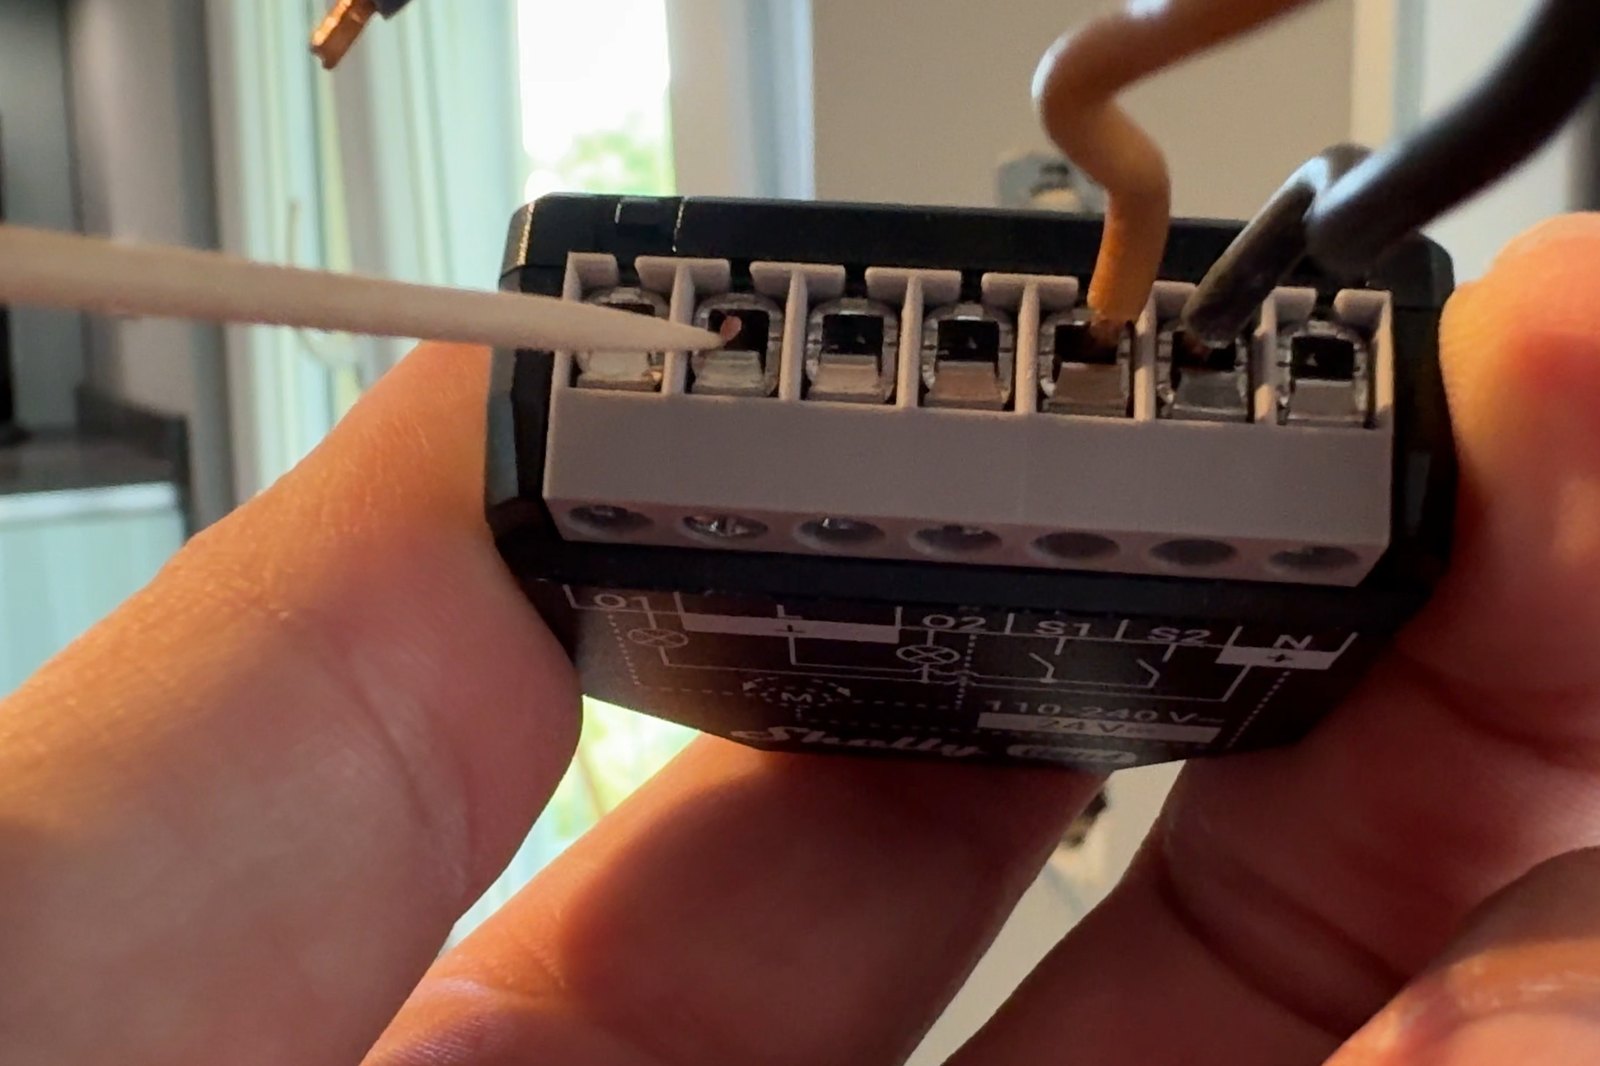 The broken-off piece of wire is stuck in the front of the terminal.
My tip: if a box has been opened a few times already, take a close look at the wires and trim them cleanly once before this happens to you.
Calibrate and flip the direction
Next, the usual Shelly calibration run. And bam: the shutter went down on “up”. Direction swapped during wiring – but you don’t have to rewire. In the web interface, the cover settings have a “Reverse directions” checkbox for exactly this.
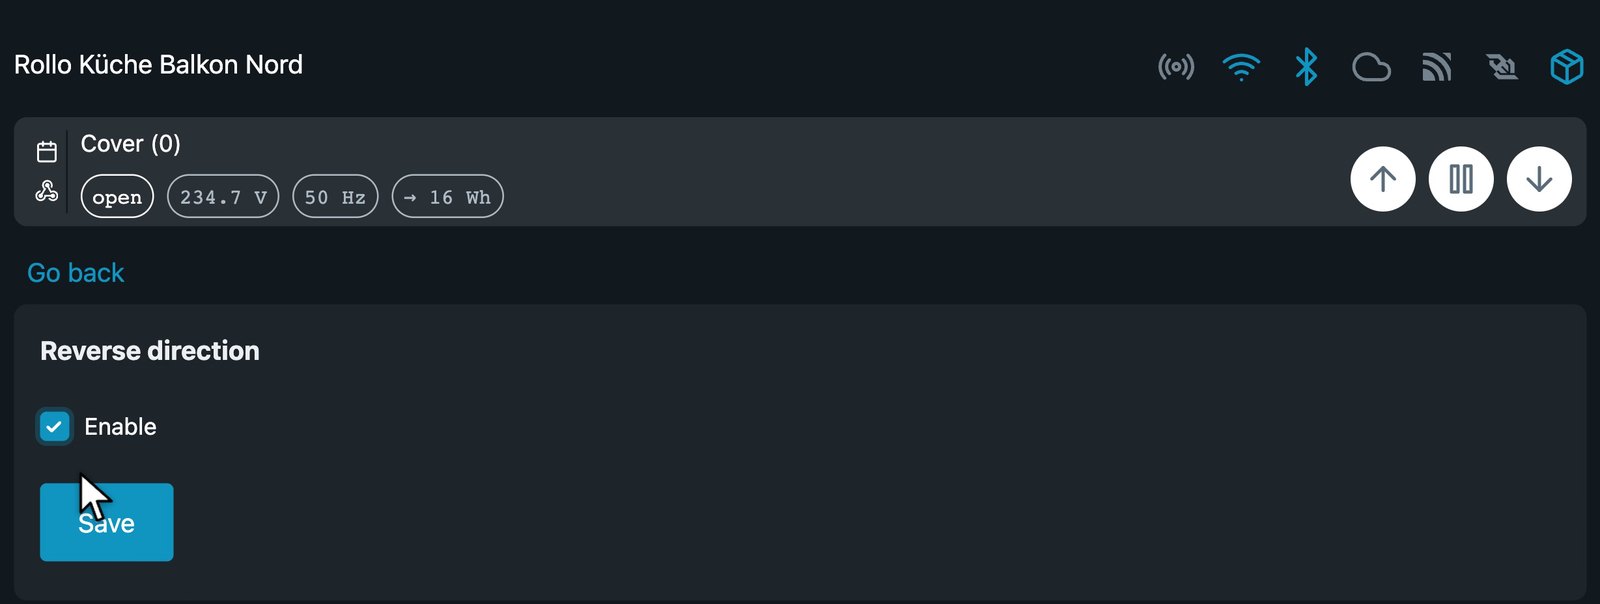 Swap the direction in software instead of rewiring.
The Matter QR code – twice
A detail I really like: the Gen4 comes with the Matter QR code twice. Once stuck firmly on the device – which of course is no longer accessible once it’s installed. And once as a loose sticker. I stuck that one on the inside of the switch cover. If I ever need to pair the device again, I can get to the code without opening the box.
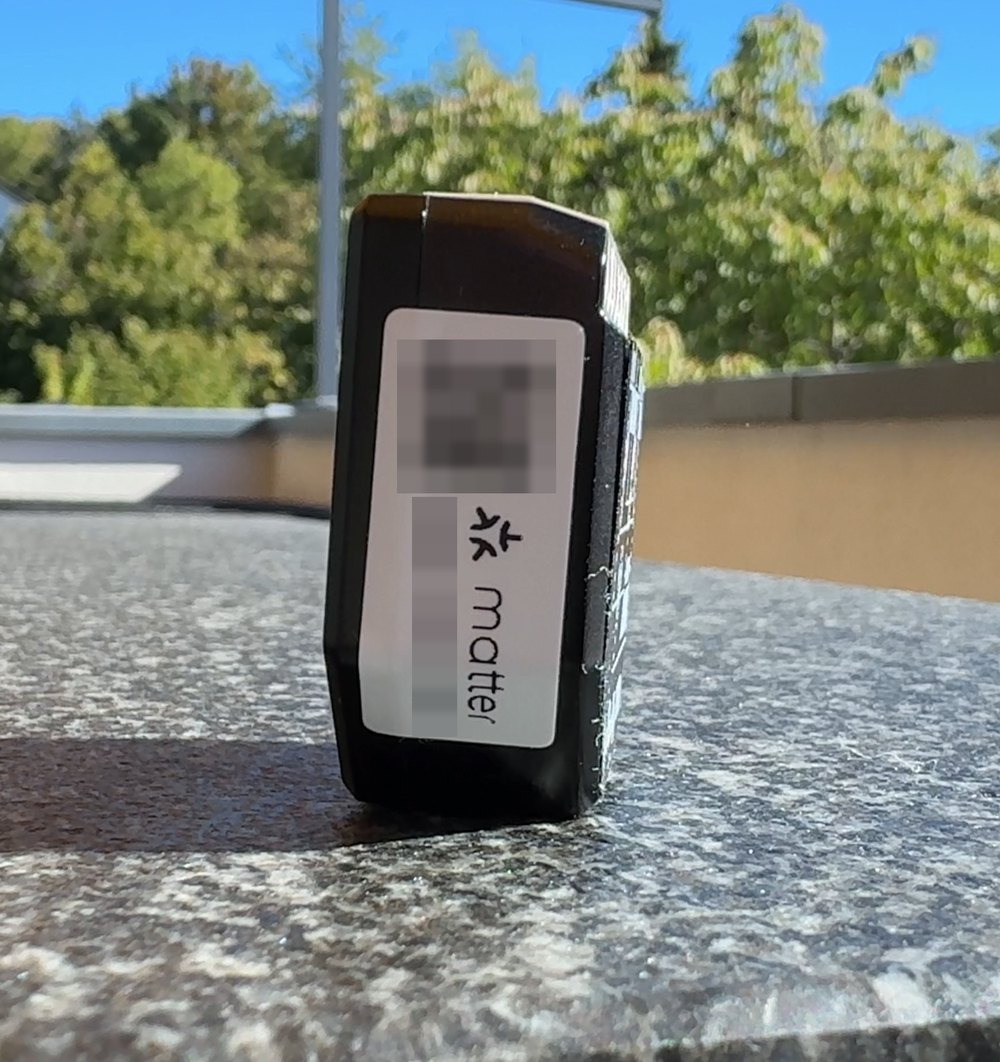
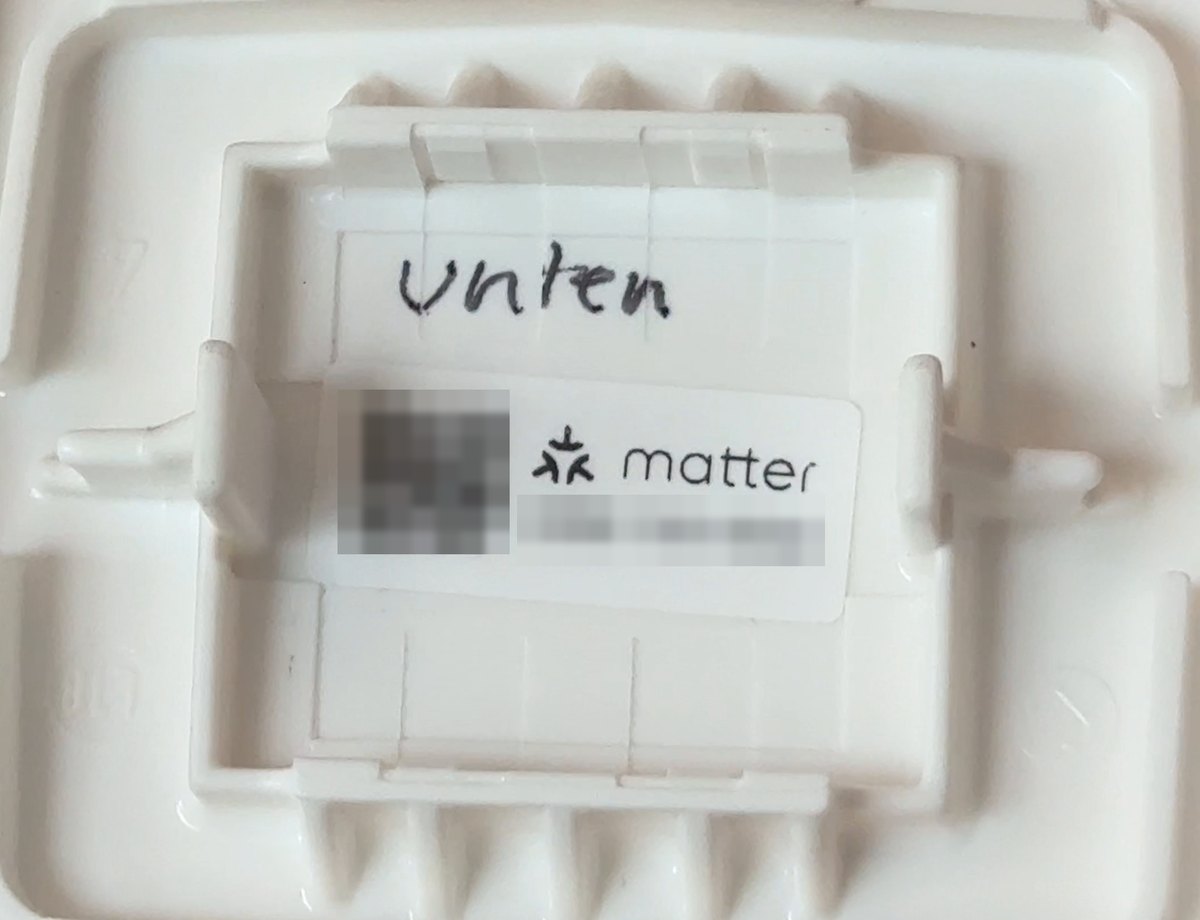 On the device and loose in the switch cover. I’ve blurred the QR code and pairing number.
As long as the Shelly is online, the QR code is also available virtually in the web interface.
Setup: Matter instead of an open hotspot
The biggest difference during setup isn’t the hardware, it’s Matter. You set up the old devices via an open, unencrypted Wi-Fi hotspot – and without the Shelly app that’s always a bit fiddly. I paired the Gen4 straight from the Home Assistant app on my iPhone: scan the QR code, done, the device is on Wi-Fi. Matter transfers the credentials encrypted. It hardly gets safer or more convenient.
But: at first, no shutter showed up in Home Assistant. Why, and how I fixed it myself in Home Assistant, is in Shelly via Matter was broken – so I fixed it in Home Assistant. In short: use Home Assistant 2026.9.3 or later and calibrate the Shelly.
Version number pitfall: via Matter, Home Assistant shows firmware version 1.3.0. That has nothing to do with the Shelly firmware version in the web interface – mine showed 1.7, and 2.0 after the update. Two different numbers, so don’t be surprised.
Three tips for the swap
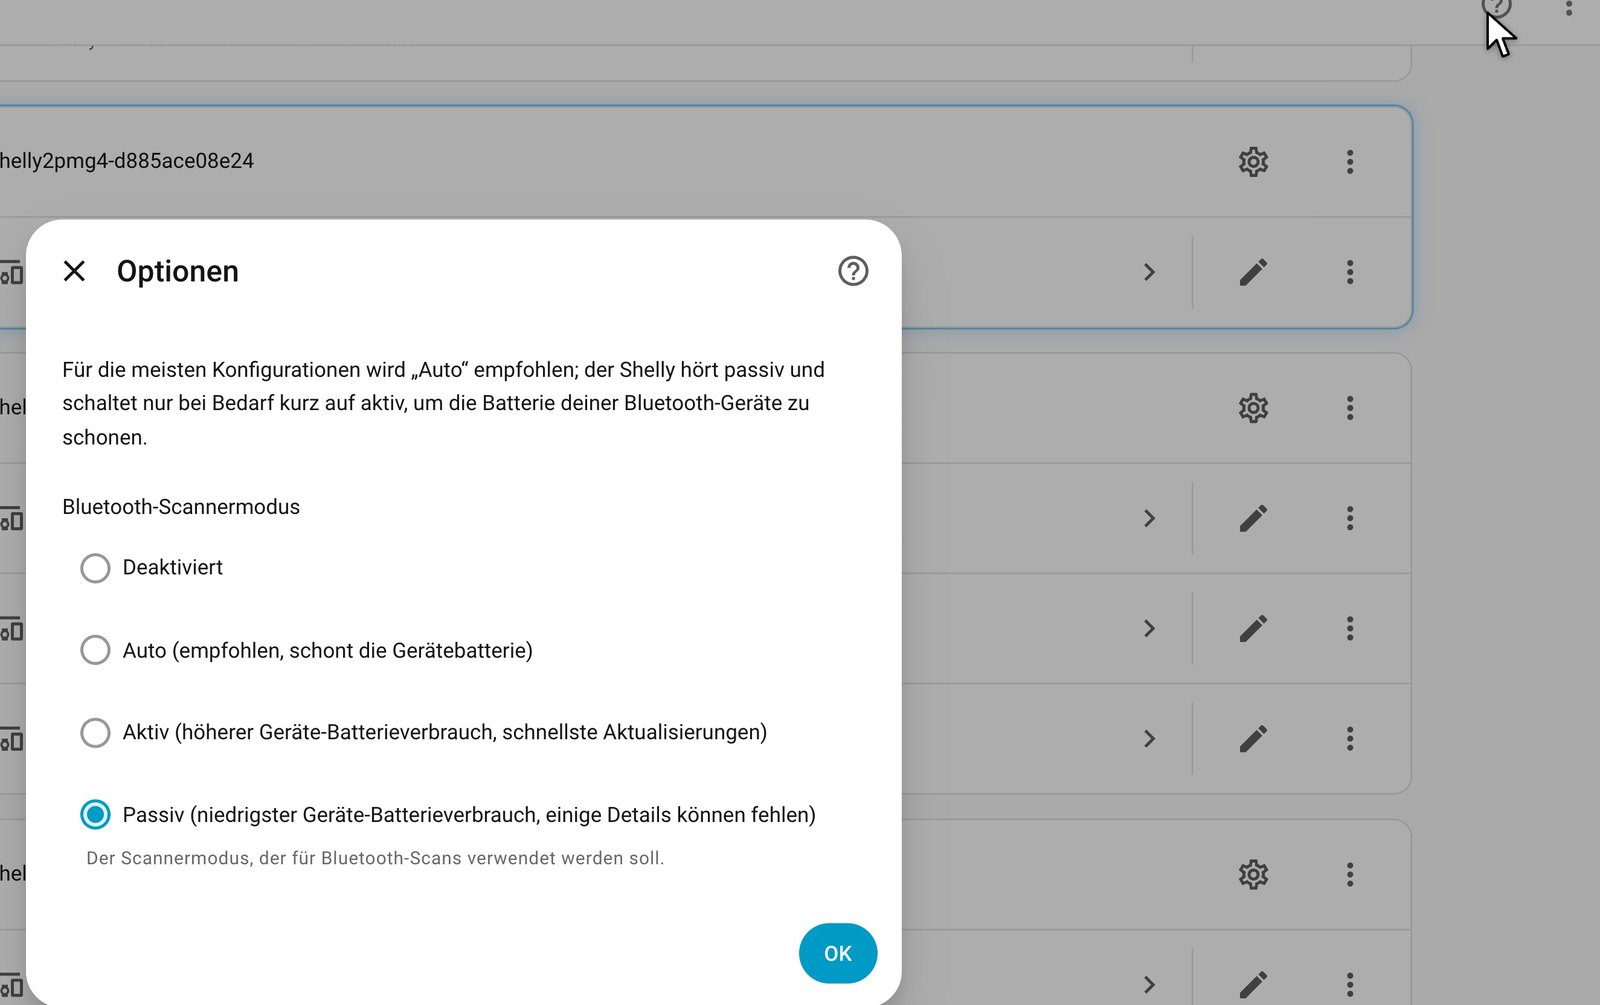
Passive Bluetooth: if, like me, you receive Bluetooth sensors via your Shellys, enable passive Bluetooth mode on the Gen4 in Home Assistant again (Shelly integration → Configure → Bluetooth scanner mode “Passive”). Then everything keeps working as before.
Venetian blinds: you can tilt the slats to the percent – by the way, the second generation can already do that, my old 2.5 couldn’t. Details in the venetian blind article.
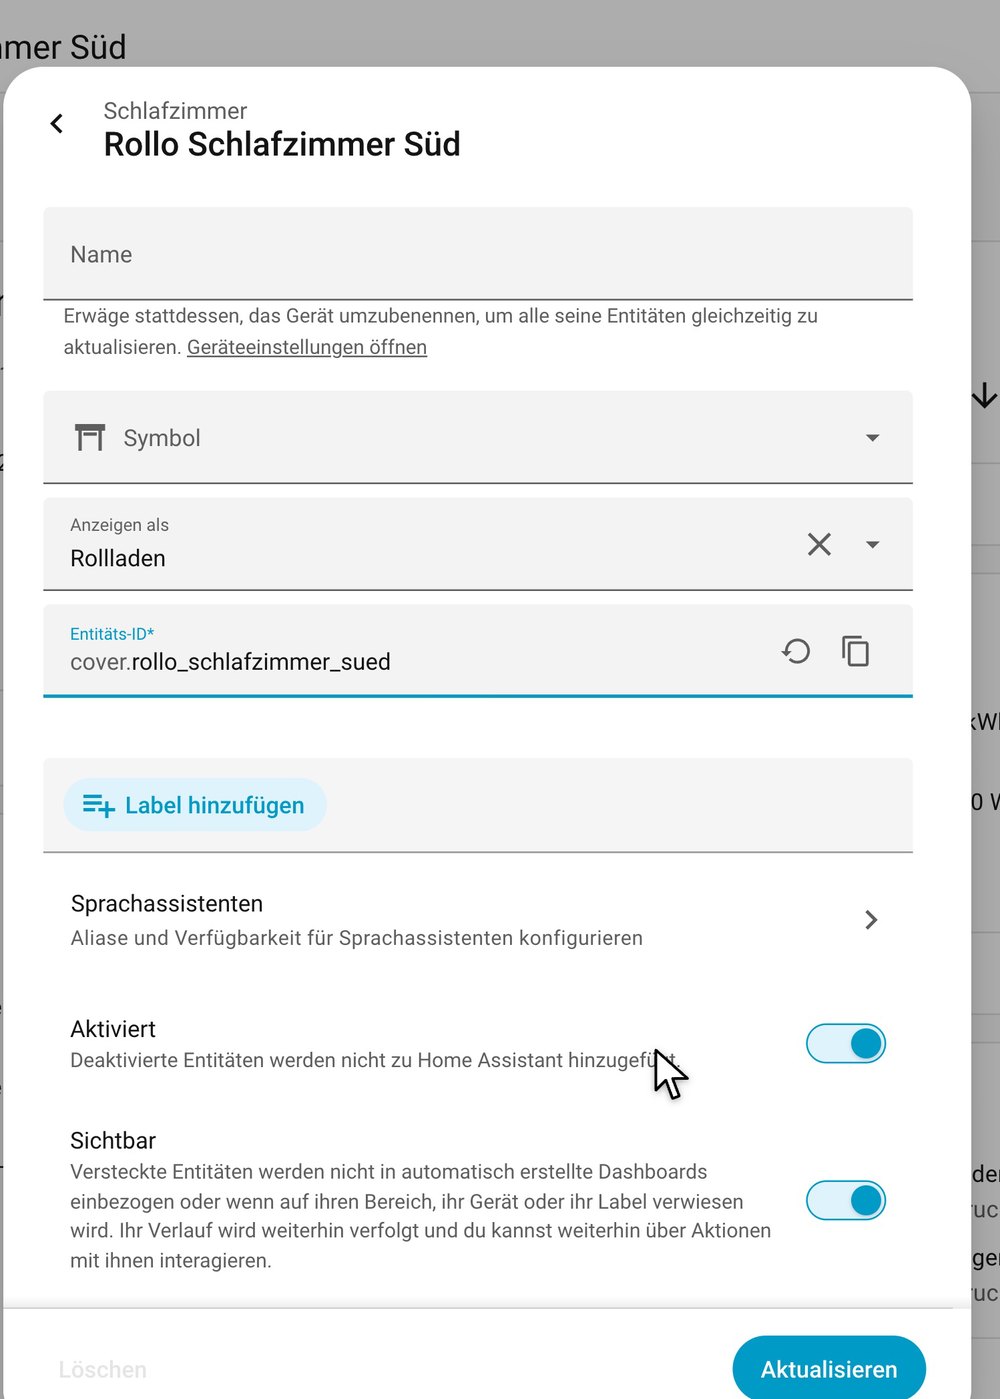
Same entity ID: give the new device the same entity ID in Home Assistant as the old one. Then your automations and dashboards keep running without a single change – for me, among others, the shading from Home Assistant A-Z: J for Jalousien.
The basics of shutter control with Shelly – switches, terminals, device profile – are in Making blinds smart with Shelly.
Conclusion
The 30-cent fix wasn’t a bad recommendation. It brings a dead Shelly back to life for very little money – and who wants to throw away a device after two or three years? Back then, the Plus devices also weren’t attractive enough for me to switch right away.
After two or more repair cycles, though, it’s a different story. The Gen4 brings a lot of new features, is easier to wire and safer to set up. For me, it’s now a well-rounded package.
Which Shelly generation runs in your home? Are you happy with it, or do you miss one of the new features? Let me know in the comments. The Gen4 can do a lot more than fits into one article – Matter, Zigbee or the Shelly integration is something I’ll look at more closely.
Products from this article
- Shelly 2PM Gen4 – directly from Shelly (paid link): https://upf.ai/l24blt88 · discount code
SMARTHOMEABERSICHER-10OFFfor 10% off - Shelly 2PM Gen4 on Amazon (paid link): https://link.amazon/B05GmP3lz · the discount code doesn’t apply there
Note: Links marked with affiliate link are affiliate links. As a partner of various retailers and manufacturers (e.g. Amazon, OBI via the Awin network, Shelly) I earn from qualifying purchases. This means I receive a small commission if you purchase through these links — at no extra cost to you. The revenue helps me run this blog and YouTube channel and keep creating content. Thank you for your support!
― Joachim