The OBI Energy Tracker is an inexpensive way to read a smart electricity meter. Out of the box, however, its readings pass through the heyOBI app and OBI’s cloud. The open-source OpenOBI firmware lets you run the bridge entirely on your local network: the reader still communicates over LoRa, the bridge provides a local dashboard, and Home Assistant receives the data from your own MQTT broker.
This guide covers the complete migration. The initial setup is fairly technical, but once it is finished, the OBI app, OBI cloud, and HACS integration are no longer required.
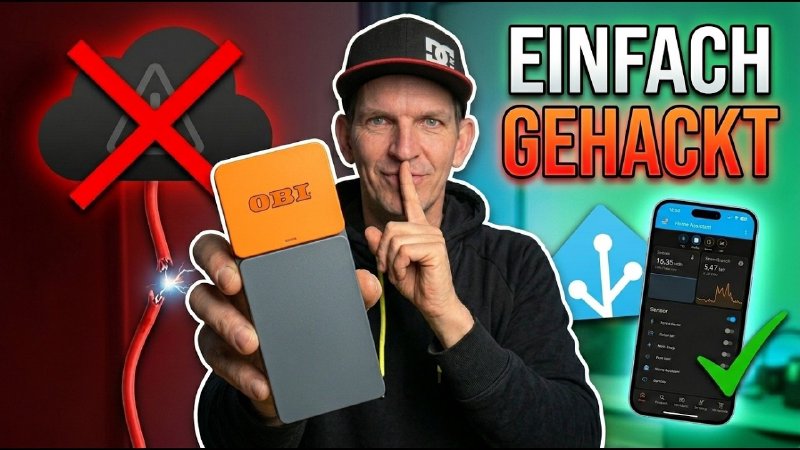
Important: Installing third-party firmware is at your own risk and may affect your warranty. Record and securely store the TEA key before starting. There is no convenient one-click option for returning to the original firmware.
What you need
- OBI Energy Tracker bridge and optical reader
- computer with Python 3, Bluetooth, and access to the bridge’s network
- TCP port 8883 available during setup
- valid heyOBI login to retrieve the device-specific TEA key
- local MQTT broker, such as Home Assistant’s Mosquitto add-on
- project files from atc1441/OBI_Energy_Tracker_Local_Cloud
If you only want to see the readings in Home Assistant and do not mind using OBI’s cloud, the HACS integration by mla157 is the easier route. This guide deliberately uses the fully local open-firmware approach.
How the local data path works
The optical reader collects OBIS values such as imported energy, exported energy, and current power from the meter. It sends them to the bridge over 868 MHz LoRa. The ESP32-C3-based bridge normally forwards those readings to the manufacturer’s cloud service.
During the migration, a computer briefly takes over the role of that cloud. The bridge receives Wi-Fi credentials, certificates, and the temporary MQTTS server address over Bluetooth. It then downloads OpenOBI as a regular over-the-air update. This helper server is not needed afterward: OpenOBI publishes directly to your permanent MQTT broker.
1. Prepare the environment
Clone the project, open the 04-connect-your-own-cloud directory, and create a virtual Python environment. Then install the three required packages:
| |
Use a Bluetooth Low Energy scanner to find the bridge’s full name. It starts with OBI- but is not printed on the enclosure.
2. Retrieve the TEA key
In the tools directory, run the helper and enter your heyOBI login and the bridge’s Bluetooth name when prompted:
| |
The result is the device-specific, 32-character TEA key. It authorizes Bluetooth configuration changes, so treat it like a device password and never publish it.
3. Generate certificates and start the temporary server
Generate the certificates using the local IP address of the computer that will host the temporary server. The bridge must be able to reach this address, and it should not change during the process.
| |
The script creates certificates and ble_config.json in the pki directory. In a second terminal, start the included MQTTS server and leave it running:
| |
This helper emulates only the cloud functions required for provisioning and OTA. It is not a replacement for the permanent Mosquitto broker used later.
4. Move the bridge over Bluetooth
Hold the bridge button for more than two seconds to enter Bluetooth setup mode. Then transfer the configuration, TEA key, and Wi-Fi credentials:
| |
--unbind removes an existing association with the OBI account. The original firmware reliably handles Wi-Fi passwords only up to 32 bytes. If the bridge does not connect despite correct credentials, check the password length first.
After provisioning, the original firmware searches for the optical reader. Hold the reader’s large orange button for more than ten seconds and select it in the terminal. You can skip this step when your only goal is the firmware update by adding --no-pair-sensor.
CONNECT in the server log confirms that the bridge reached the local computer. If an EnergyTrackingSensor message with a real energy value also appears, the reader and LoRa link are working as well.
5. Install OpenOBI over the air
Download the current firmware image from the project’s release page. Only the file containing obi_gateway_c3 is intended for the original OBI bridge.
Stop the temporary server and restart it with the path to the firmware image:
| |
The bridge downloads the image in blocks. Do not interrupt power or network access until it reaches 100 percent and reboots. OpenOBI is then running, and its local dashboard is available at the IP address assigned by your router.
6. Bind the reader in OpenOBI
The reader initially appears dimmed and unbound in the dashboard. Select Bind to gateway for that specific reader. OpenOBI does not require another button press on the reader.
Once bound, the dashboard shows imported energy, exported energy, current power, battery voltage, and radio diagnostics such as RSSI and SNR. You can also choose the reporting interval: Live provides fast updates, while longer intervals conserve the reader’s battery.
7. Connect Home Assistant through MQTT
Under Settings > MQTT, enter the address of your permanent MQTT broker. In a typical Home Assistant installation, this is the Mosquitto add-on. Plain MQTT usually uses port 1883 and MQTTS port 8883. The username and password belong to your own broker, not your heyOBI account.
The base topic can remain obi/gateway. Enable MQTT Discovery and save the connection. The OpenOBI dashboard should then report a connected status.
Home Assistant automatically creates two MQTT devices: the LoRa gateway and the optical meter reader. Their energy sensors have the correct units and device classes, so they can be used directly in the Energy dashboard and automations. No HACS package, YAML, or custom templates are required.
Troubleshooting
- The bridge is found over Bluetooth but cannot be configured: Hold its button for more than two seconds immediately before running the command.
- No Wi-Fi connection: Verify the SSID and password; the original firmware accepts no more than 32 bytes for the password.
- No
CONNECTin the server log: Check the local IP address, firewall, and reachability of port 8883. - Wrong firmware image: Use only an image containing
obi_gateway_c3for the original bridge. - Reader remains unbound: Bind your specific reader in the OpenOBI dashboard and check its radio values.
- No devices in Home Assistant: Verify the broker credentials, base topic, and MQTT Discovery setting.
Conclusion
After this one-time migration, the complete measurement path stays on your network: the reader transmits to the gateway, OpenOBI publishes to the local MQTT broker, and Home Assistant processes the values without a manufacturer cloud. The temporary server and heyOBI login are no longer needed.
For a look at the original app and cloud experience, read my OBI Energy Tracker review.
Note: Links marked with affiliate link are affiliate links. As a partner of various retailers and manufacturers (e.g. Amazon, OBI via the Awin network, Shelly) I earn from qualifying purchases. This means I receive a small commission if you purchase through these links — at no extra cost to you. The revenue helps me run this blog and YouTube channel and keep creating content. Thank you for your support!
― Joachim
Disclosure: I bought the second Energy Tracker used for this conversion myself. The following product link is an affiliate link. If you buy at the regular price, I receive a commission at no additional cost to you. The linked shop and product are intended for the German market.